Ultimate Guiding to Printing Digital PDF Book Binding Signatures
You've purchased files from my shop and now it's time to print your signatures. What are some best practices for getting the best results? What are some mistakes you want to avoid? We will cover all that in this post. (These tips can apply to most digital files for download & print at home.)
Once you've downloaded your files from the shop, open them in Adobe Acrobat®. Yes, there are other programs that will read a pdf and allow you to print. But because I can't begin to cover all of them, I'm going to use Acrobat® as the example. Then, you can use these tips and navigate whatever software you have.
Once the file is open, go to the Print dialog box. Inside the box, you have a variety of options. First up, make sure the printer you are printing to is selected in the top left corner. Let's go through to box and highlight how it should be set up to achieve best results. (All screen shots are from Adobe Acrobat® on a Mac computer. If you are using a Window based computer, this may vary.)

Copies: Before you print the full quantity of pages needed, print 1 copy to check alignment, placement, quality, etc. I always print one page, fold and trim it to make sure it's correct before I print in volume.
Pages in Print: Set to All, so all pages in the document print
Page Sizing & Handling: Make sure the size is set to Actual Size. If this is set to Fit, you will not get the desired results. My signatures are designed to trim with even margins, but only if you print to Actual Size.
Print on both sides of paper: This box must be checked to print duplex/two-sided (Note: This will only work if you are printing to a printer equipped to print duplex.) Also, make sure to set the "binding" to match what you are printing. In the example above, these signatures will bind along the long edge, therefore, the "binding" is set to Flip on long edge.
Below, is an example of what NOT to do - Please make sure the size above the preview document says 8.5" x 11" (or whatever size file you purchased).

Once you have printed 1 copy of the document, checked the sizing, your ink settings, etc., you can then print the number of copies you need. If you would like to save ink, and IF printing a file that is only black & grey, you can check the box at the top middle, Print in grayscale.

When printing digital files/signatures in color, make sure Print in grayscale box is unchecked.

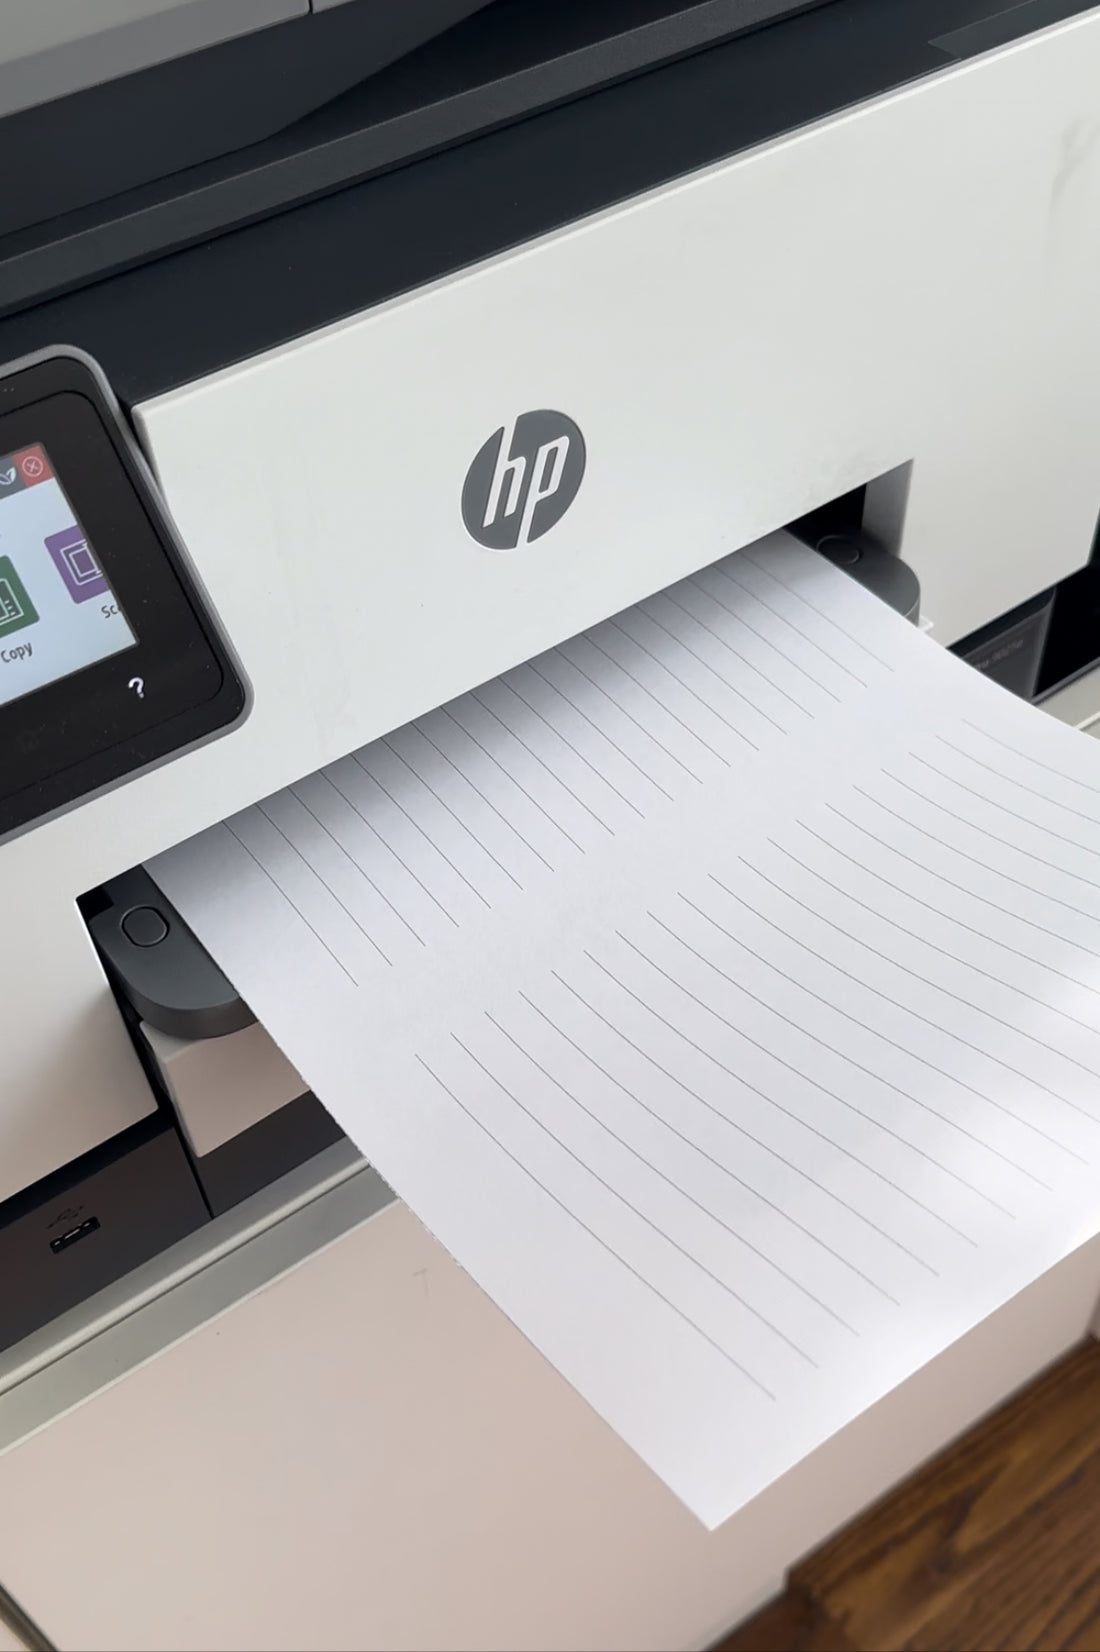
ADVANCED: At the bottom of the print dialog box, if you click to Printer. . . button, you will open a box with information specific to your printer to change print quality etc. (The example below shows information specific to my HP 9025e on a Mac.)
I have changed the paper type to suit the paper I am using and moved the print quality to best. For my HP, Best produces better quality lines and graphics for my signatures. Play with the settings on your printer until you achieve the desired results.
